Continuously propagated ale
It is inconvenient for me to make 20 litre batches of beer. I wondered whether I could make beer at the same rate that I drank it – about 330 ml per day.
Initially I considered a continuous fermentation setup. That is too complicated. It requires metering pumps and quite a lot of plumbing and control circuitry. I wanted something low tech that would give similar results.
So I experimented with a continuously propagated batch process.
Initially I considered a continuous fermentation setup. That is too complicated. It requires metering pumps and quite a lot of plumbing and control circuitry. I wanted something low tech that would give similar results.
So I experimented with a continuously propagated batch process.
Mother beer and daughter beers
Most serious home brewers prepare a yeast starter, and add that to a larger quantity of wort. Here that process is reversed. I would make a one litre starter. Every day, I would remove 330 ml of fermenting beer, and replace it with 330 ml of unfermented wort.
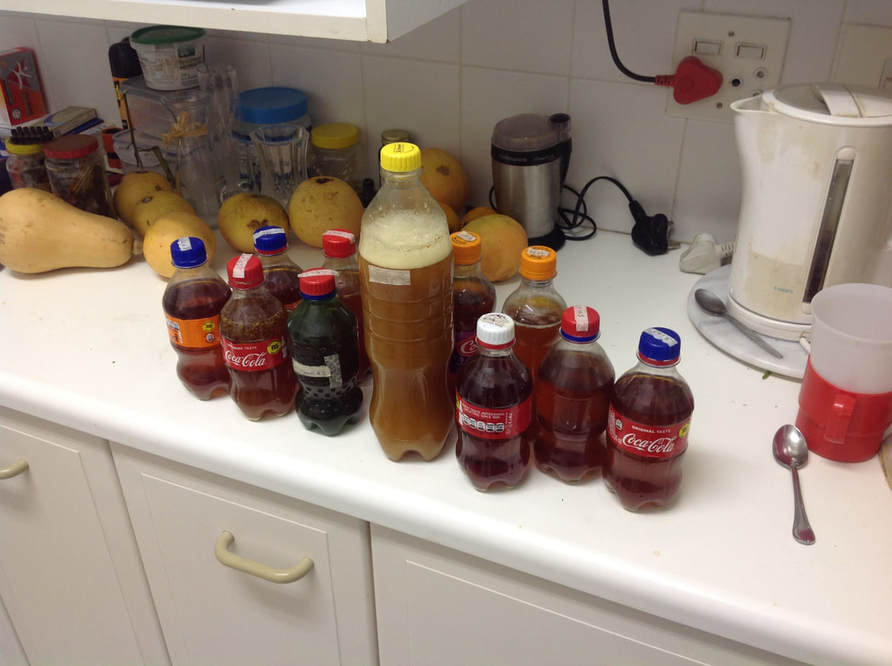
From left to right: hopped malt extract, caramel syrup, fermenting beer in primary fermenter, empty secondary fermenter, digital balance to weigh out syrups for wort
|
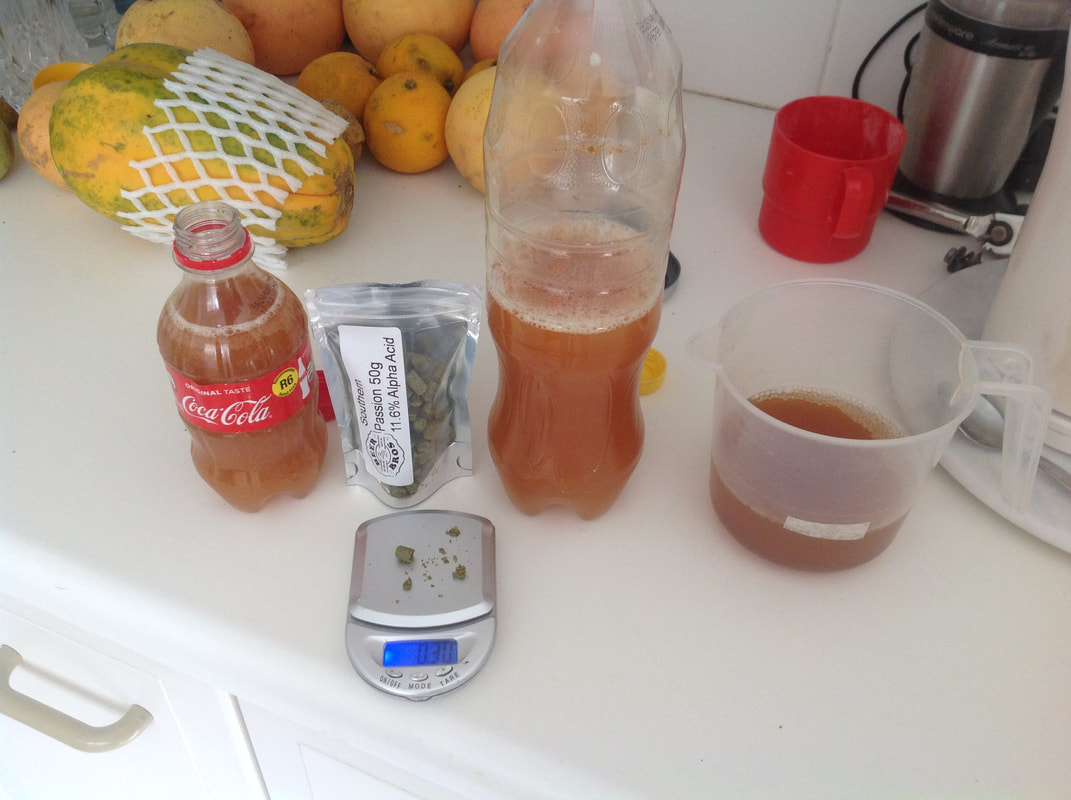
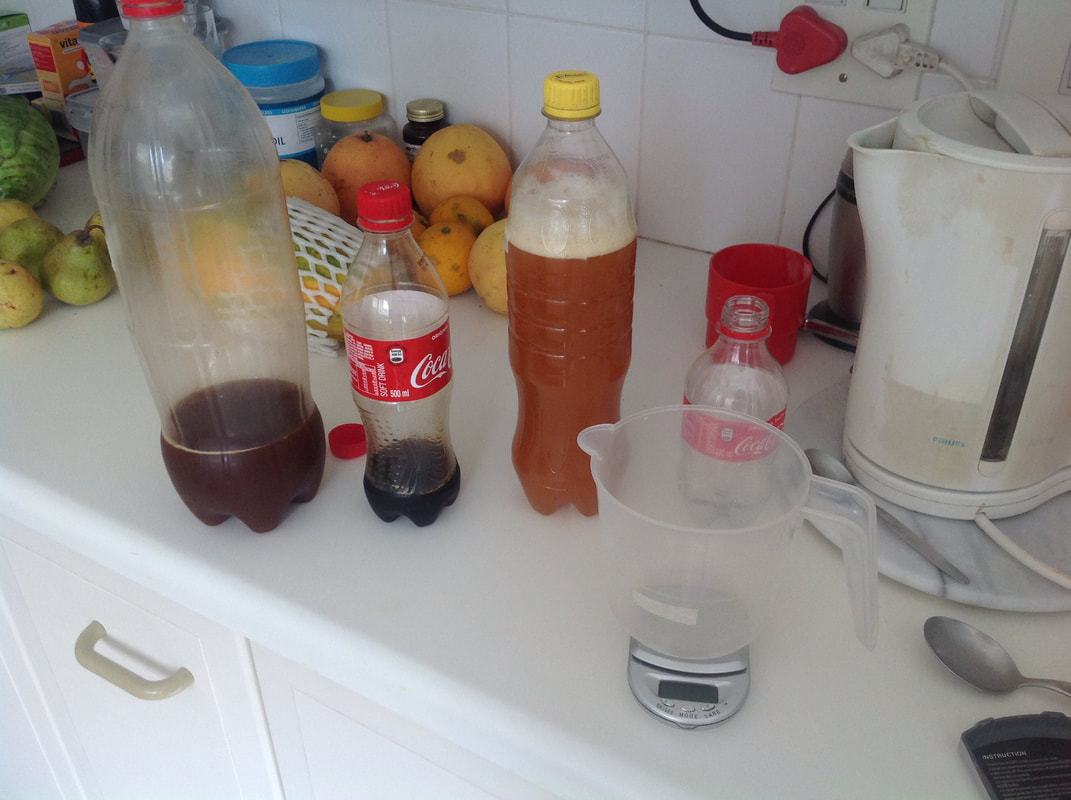
Decanted beer in secondary fermenter, dry add hops, primary fermenter, and prepared wort.
|
There are many advantages to making beer this way. The actively fermenting beer contains ethanol and some organic acids, and is saturated with carbon dioxide. This makes it hostile to a number of beer spoilage organisms. The yeast is in an exponential growth phase, so it multiplies and ferments the beer quickly. Absolute sanitation is not so critical in this method, because there is less opportunity for unwanted organisms to grow.
******************
There were many questions that required answers. The two big questions were –
- Is the beer any good? And
- What are the variables that affect the flavour, and how easy is it to control the variables?

Answer to the first question: The beer is magnificent!
The role of oxygen in the process
Oxygen is desirable at the beginning of fermentation, and undesirable at the end. I had to design the process to take this into account.
My primary fermenter is a 1 litre plastic bottle. I ferment 830 ml of beer for 24 hours, and then decant 330 ml. That leaves 500 ml of liquid and 330 ml of fresh air in the bottle.
Target oxygen level in wort at 20°C is 12 ppm, i.e. 12 mg O2/litre.
1 mole air = 22.4 litres. This contains 1/5 mole O2 = 1/5 x 32 grams/mole = 6.4 grams oxygen
330 ml of air contains 0.330/22.4 x 6.4 x 1000 = 94 mg oxygen.
So there is enough oxygen in the air space created by the departing beer. The challenge was to get the oxygen into CO2 saturated beer. After decanting the beer, I closed the cap and shook the 1 litre bottle vigorously. I waited for the foam to subside, and then released the cap slowly, to vent the CO2. I repeated this a few times. Then I squeezed the bottle a few times to replace CO2 with air.
Fortunately, actively growing yeast assimilates oxygen very quickly. I soon discovered that a few seconds shaking was enough to ensure vigorous yeast growth and subsequent fermentation.
When yeast is in a medium with a high concentration of sugar, any oxygen will be used to produce compounds like unsaturated fatty acids and sterols. These are essential for making cell membranes and therefore yeast growth. But in a low sugar/high ethanol situation, yeast uses oxygen in a respirative manner. The ethanol is used as a food, and the byproduct is acetic acid. This means sour beer!
So to avoid this from happening, I have to do all my decanting while there is lots of sugar in the medium. In practice, this means 24 hours in the primary fermenter (the 1 litre bottle), followed by 24 hours in a secondary fermenter (a 330 ml bottle). Then the beer is decanted again into another 330 ml bottle. When the fermentation is over, I prime this bottle with some sugar. So there is no decanting after the 3rd day, and therefore little exposure to oxygen late in the process.
Autolysis: What happens when yeast accumulates in the primary fermenter for a long time?
Autolysis occurs in dead yeast cells. High temperatures, low sugar levels, and a thick layer of stagnant dead yeast cells promote autolysis. It may not be an issue in my continuously propagated beer. Even if autolysis occurs, the metabolites may be used by the actively growing yeast, instead of leading to off flavours. Only time will tell.
******************
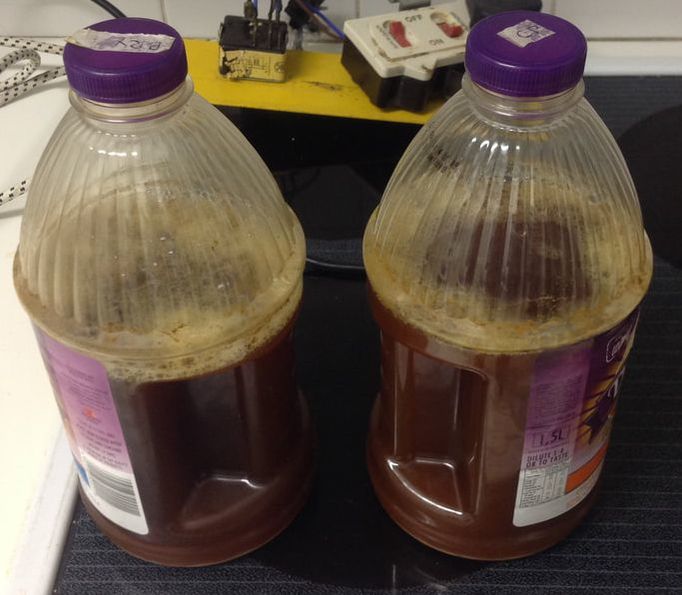
Update 19 September 2017. I have run two continuously propagated fermenters for the past 18 days. The two fermenters contain different strains of ale yeast. Both fermenters are 1.5 litre in size. The amount of wort that is refreshed daily remains at 330 ml per fermenter. The extra volume in the fermenter is better able to contain the foam that is created when rousing the yeast or oxygenating the wort. Any yeast remaining in the secondary (330 ml) fermenter is returned to the primary (1.5 litre) fermeter.
I have observed the following to affect the flavour.
1. Ratio of caramel syrup to malt extract. The more caramel syrup in the wort, the thinner (less mouthfeel) and more alcoholic the beer becomes. This indicates more fermentable sugar in the caramel syrup. The taste reminds me of the smell of burning sugar cane fields, rich in furfuraldehyde and furfuryl alcohol.
2. I can differentiate the taste of beer produced by the different strains of yeast. One strain ferments twice as fast as the other strain. But the slow strain makes the tastier beer!
3. Temperature has a big impact on flavour. When I ferment at 18°C, both beers have a pleasant, mellow taste. When I ferment at 23°C, the beers develop a "hot" flavour, possibly due to the formation of higher alcohols, like butanol and pentanol. I need to store these beers, and see whether the higher alcohols get converted to fruity esters.
4. I have not noticed any off flavours due to yeast autolysis. Typical off flavours to expect are rancid and soapy, due to the production of fatty acids. Other typical flavours are cabbage and rotten eggs, due to thiols and mercaptans, and savoury meaty flavours, due to amino acids. So at this stage, if autolysis occurs, the actively growing yeast uses the products formed as building blocks, and none are left to contaminate the beer.
